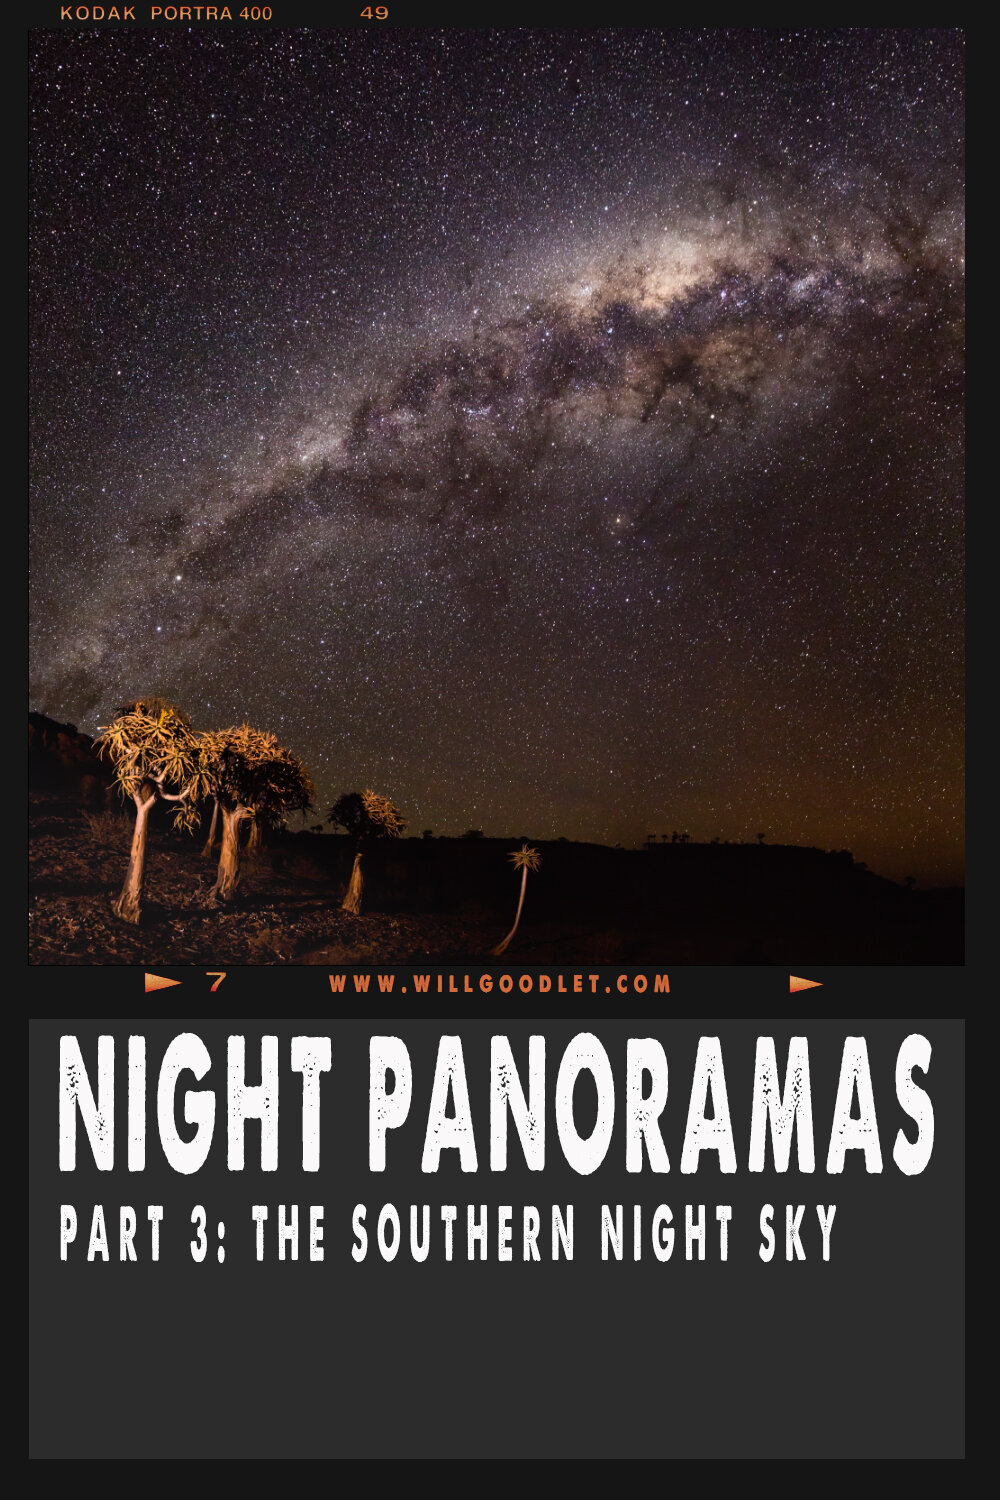
The Southern Night Sky - Part 3: Night Panoramas

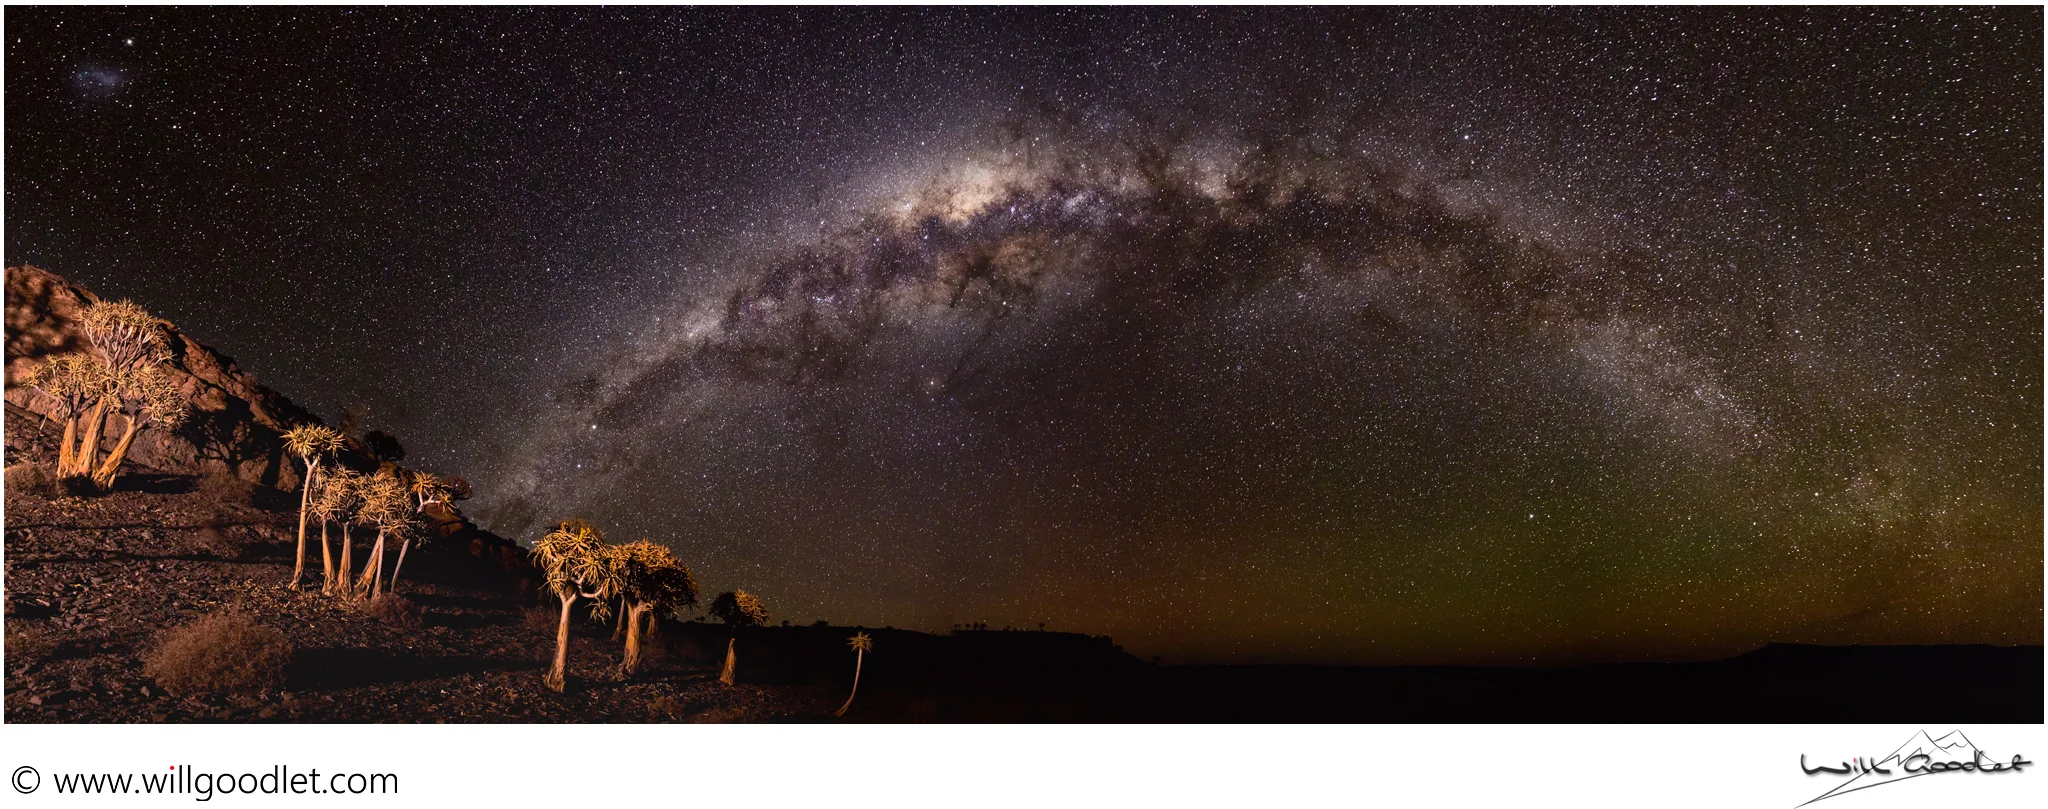
Nightscape panorama, Northern Cape, South Africa. 1 row of 10 images.
I really enjoy any panorama but night panoramas are some of my favourite things to create. Some of the things that make them special are the ability to extract maximum detail from the scene as well as to showcase a much larger piece of it. Star panoramas really bring out the scale of the galaxy!.
This portion of the article relates purely to capture; post-processing will be in a later article which I will link here.
If you missed them, you can read parts 1 and 2 by clicking the links below:
Part 1: Stars as Points of Light
Part 2: Star Trails
What is a Night Sky Panorama?
A panoramic image is generally one that features a long or wide view over a subject with a short vertical dimension. It is a format that is particularly suited to wide, open, landscapes and, more importantly for us, for shots of the milky way because it arcs over 180 degrees of the horizon.
Quite often, panorama’s, or ‘pano’s’, are not simply one image that has been cropped. Rather, they are comprised artistically of many images and most often shot at a longer focal length. The reason one might use a longer focal length is to add a normal perspective to the scene, or even a slightly compressed one, rather than the typical wide angle decompressed shot.

Panorama’s comprised of multiple contiguous images are known as stitched pano’s. One can go further still, taking a series of stacked shots (the same image over and over) to allow for a stitched and stacked panorama.
There is no advantage to stacking shots in daylight (except for subjects you wish to blur or increase depth of field) but there is a significant advantage at night.
Stacking is a form of contrast and noise averaging. Now, that may sound a little complicated but it isn’t really! All it means is that we are able, having taken a series of shots, to average the light and dark areas across all of them and thus eliminate artefacts and noise that is not common to all the shots.
The reason we like to do this for night shots is because they are (A) high contrast scenes and (B) suffer from noise due to the underexposure in the dark parts of the image.
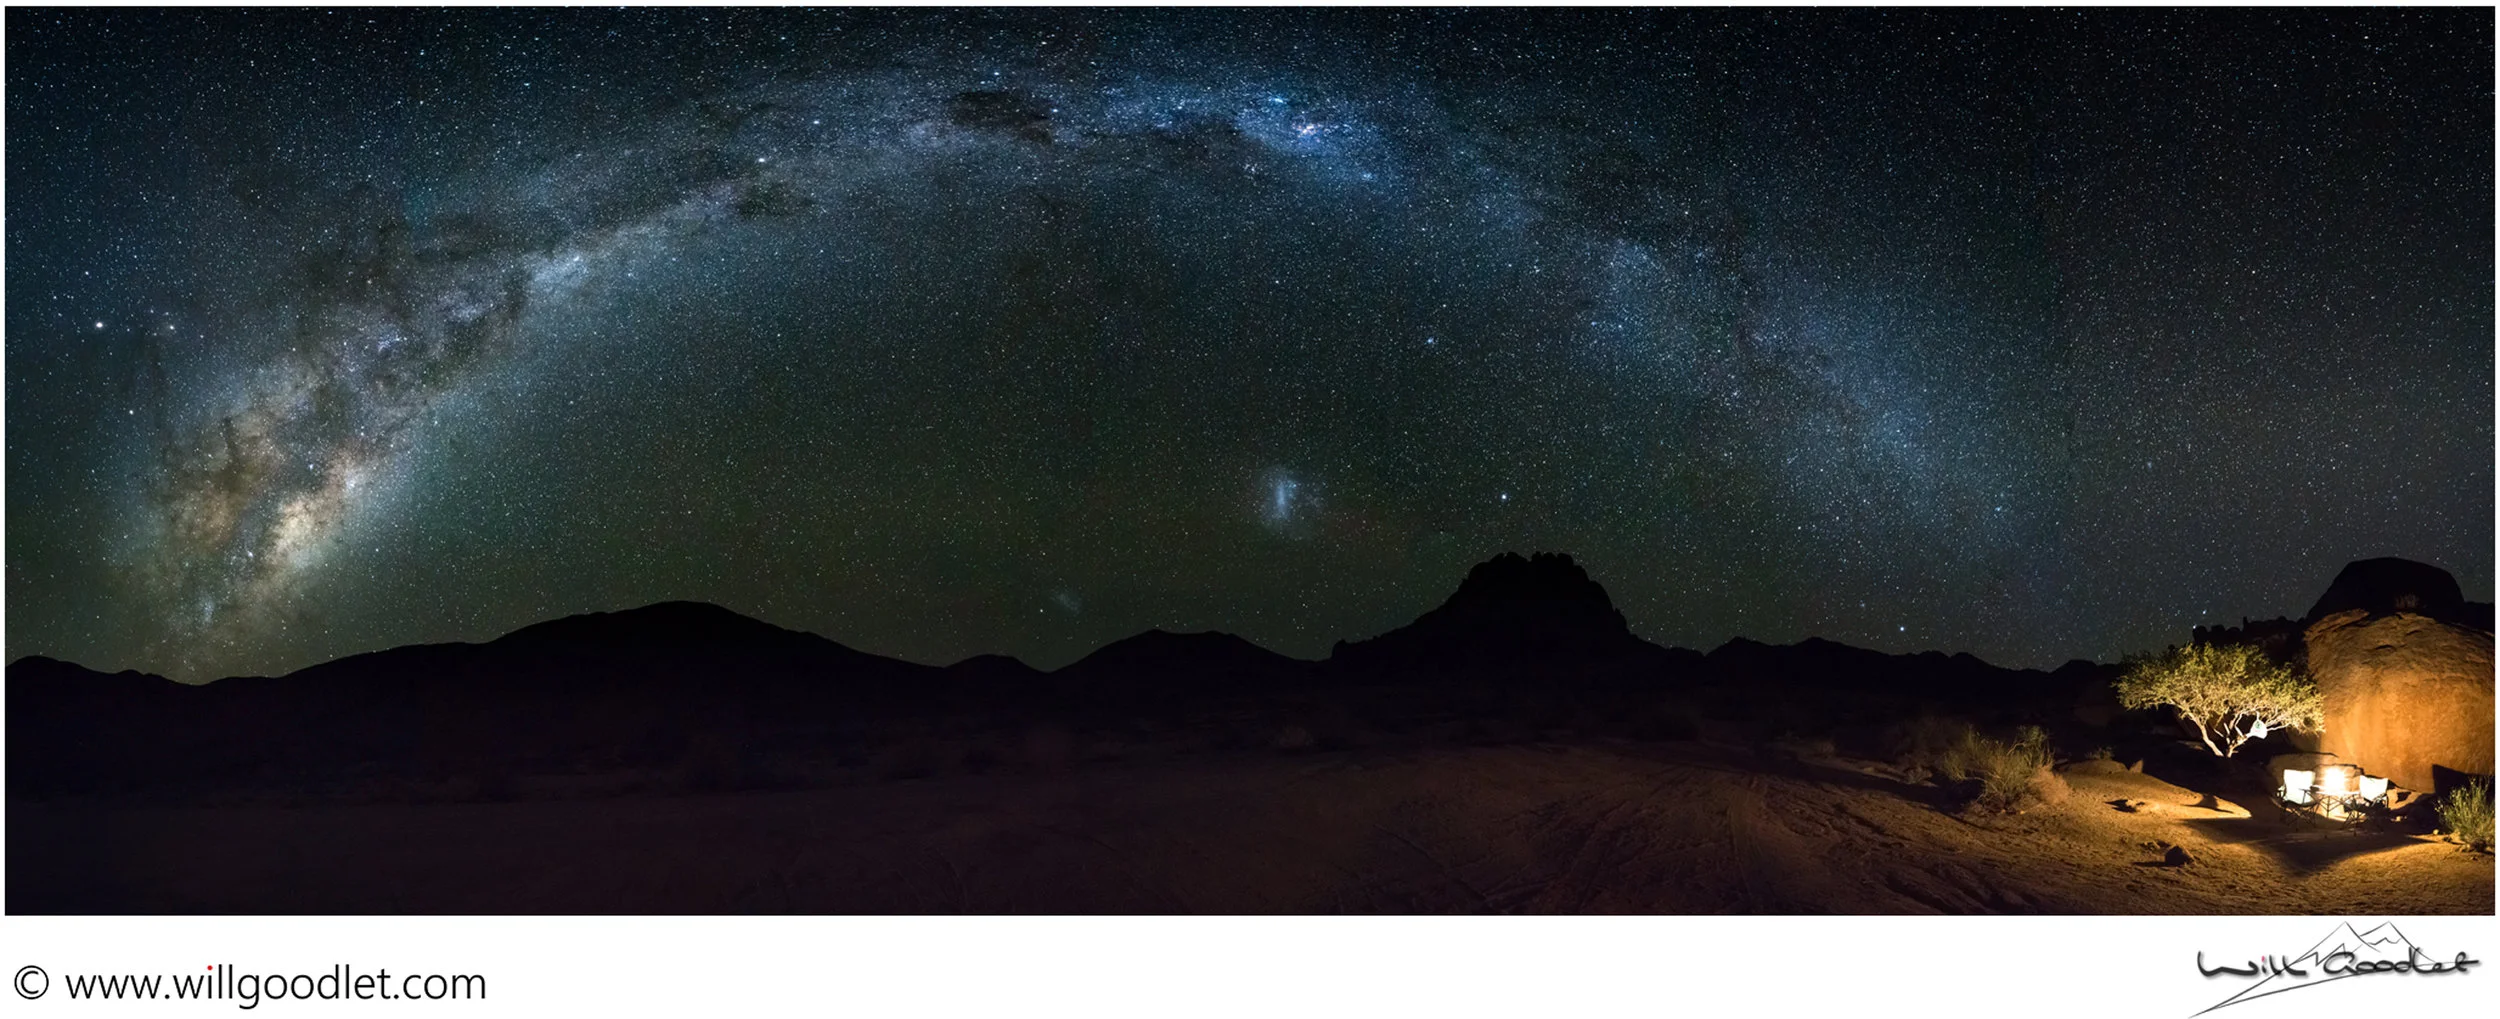
3 rows of 7 images (21 image stitched Panorama) Richtersveld, South Africa.
Let's Recap
So, with a night pano stitched and stacked we have a number of positive advantages:
Wider scene shot at a normal focal length (+/- 35mm - 50mm)
Additional detail due to the longer focal length and number of shots
Ability to underexpose the image and still retain more shadow detail (and less noise) than a single shot.
Ability to make a better and much larger print.
Like anything, there are some downsides too…
Longer focal length reduces our available exposure time (because trailing occurs sooner at longer focal lengths). This means our images are darker or use a higher ISO setting.
We need to be fast to take the necessary number of stitches and stacks to avoid the stars moving and rendering it impossible to reconstruct the sky in post. You should aim to complete the capture of all the images within 10 minutes.
Much more time spent processing the images and far more space required to store them all.
Difficult to remember and manage which shots are part of a panorama and which are not - i.e. you need to be highly organised.
The Anatomy of a Panorama

Golden Gate Highlands. 50mm Lens, portrait orientation single row panorama.
Generally, we capture panoramic shots by setting exposure and white balance to manual (to avoid unintended changes in settings across the whole image). Then, by photographing the scene and using a 30-50% overlap between each image.
Normally the camera is mounted in a portrait orientation (to add detail and pixels to the output) on a rotational head. Many standard ball heads are rotational, and while they work, they take no notice of parallax caused by rotation.

Parallax is not a crucial concern for many night shots, so you could just get away rotating the camera on the ballhead although a proper panoramic head like this one from Nodal Ninja is ideal.
One might also change the angle of the camera to capture more sky or more ground. By doing this, we make additional rows of images above and below horizontal. So a stitched panorama might be described as having “3 Rows of 7”.
This translates into saying that the final image was composed of 21 shots (3 x 7) arranged in 3 rows, each of 7 overlapped images.
A Night Pano Cheat Sheet
Here’s a panorama flow diagram for a recent trip of mine. When working in the dark, late into the night, it is useful to have simply arranged cheat sheets to follow when you can’t see well and you may be very tired.

Let's work through the steps in the diagram!
Starting on the left we set up the tripod, any lighting and camera ready to take a night panorama with 50% overlaps.
The second step is to understand that we will take 4 identical shots underexposed by ½ stop. The reason we can underexpose is that the 4 shots will combine to give us a properly exposed shot in post processing.
The exposure time is an aggressive ½ stop shorter (lower light) in order to allow for the 4 shot stack and to limit unwanted star trailing.
Your objective is to complete the whole set within 10 minutes (or else the sky will have moved too much to make stitching possible in post).
Choose an image format for the pano:
2 Row 6 shots - 196 degree panorama with this 24mm lens - ideal for capturing a wide scene with low milky way.
2 Row 2 shots - 84 degree panorama
2 Row 3 shots = 112 degree panorama
The fewer frames you take the less time the exercise will be overall. All these outcomes deliver your pano in under 10 minutes.
You may notice that the width of the pano in degrees corresponds to some standard focal lengths. 84mm is roughly equal to a single frame with a 24mm lens, while 112mm is roughly equal to a single frame with a 14mm lens. 196 degrees will cover the entire milky way when it is close to the horizon.
Staying Organised
I like to keep my panorama component frames together when I download them. Bearing in mind that on a busy night I might be taking a few different types of shot that all look very similar. So before every panorama set I always expose a black frame by covering the lens with a cap or my hand. When downloading, I always know that the pano frames come after any black frame. The other advantage is that the black frame actually has some use when post-processing.
Strategies and Tricks
You really do not want to be thinking too hard in the pitch black and bitter cold of a moonless night. So I would advise you to pre-plan all your shots and have a handy cheat sheet, stored on your ultra-dimmed phone. Refer to this to avoid getting confused.
Another thing you could do is to practice at home before taking a trip. A lot of panoramic work is basic mechanical moves you perform time-and-time again. Learn the moves so you don’t have to think!
Keep plenty of batteries with you and keep them warm in the inside of your coat. There is nothing worse than running out of juice due to batteries performing poorly in the cold.
Plan your shoot with software before you even arrive. This can save you hours sitting and waiting for the correct orientation of the stars; time you could have spent in bed! More on this in a later post.
Shoot two bodies. I like to have one body exposing wheels at the same time I am making pano’s and single shots. Wheels take so long that unless you do this you will often be forced into choosing one type of image over the other.
Shoot with a friend. Let’s face it, this is Africa. Clambering around the Northern Cape in the dark could be pretty dangerous…
Pack a red light and wear it on your head. Using a red light is a great way to maintain some night vision. It’s not perfect, and in my old yacht racing days I would always close one eye when using a red light so at least night vision was maintained in one eye for the dark sea.
Pack some black electrical tape and cover the red exposure light (on Canon bodies) and the viewfinder to prevent light leaks and vision loss. Be sure to remember where your camera is - maybe use a GPS - without that little light in the dark it is incredibly easy to lose it!
Leave a small low brightness LED lantern shining at base camp (preferably off the ground as Jackals take them). I have been lost so many times unable to find my way back to camp. Now I always do this! Please believe me that Jackals will even take burning paraffin and gas lamps - I had a long chase down the beach on the Skeleton coast when a Jackal stole my lantern!