The Southern Night Sky - Part 2: Star Trails

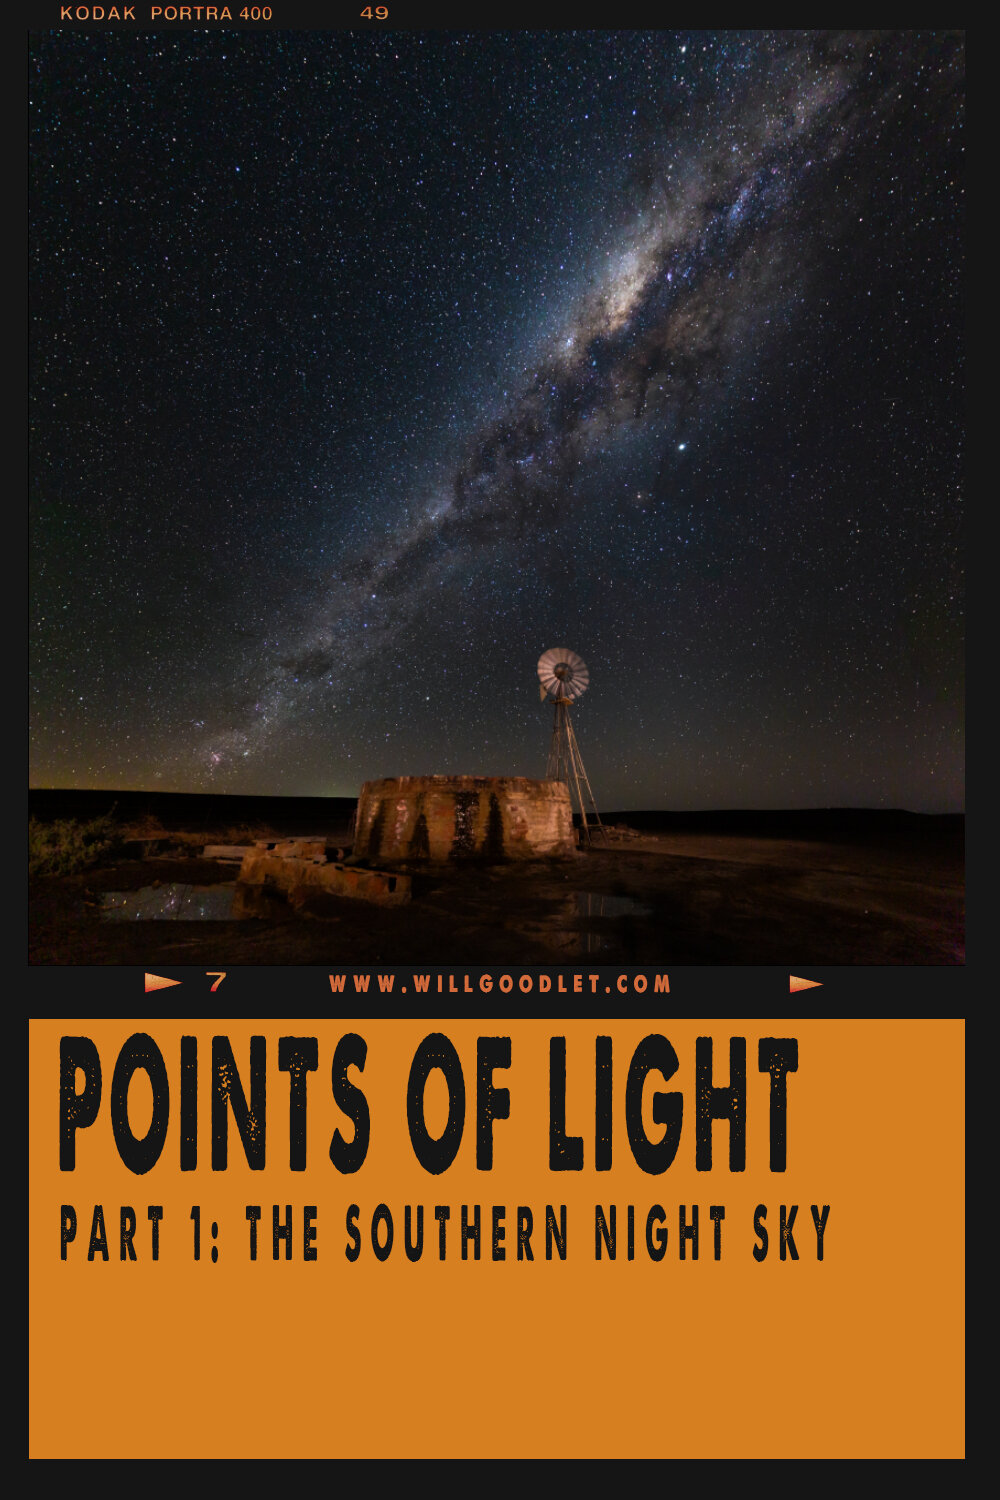
TAP TO READ PART 1 - STARS AS POINTS OF LIGHT
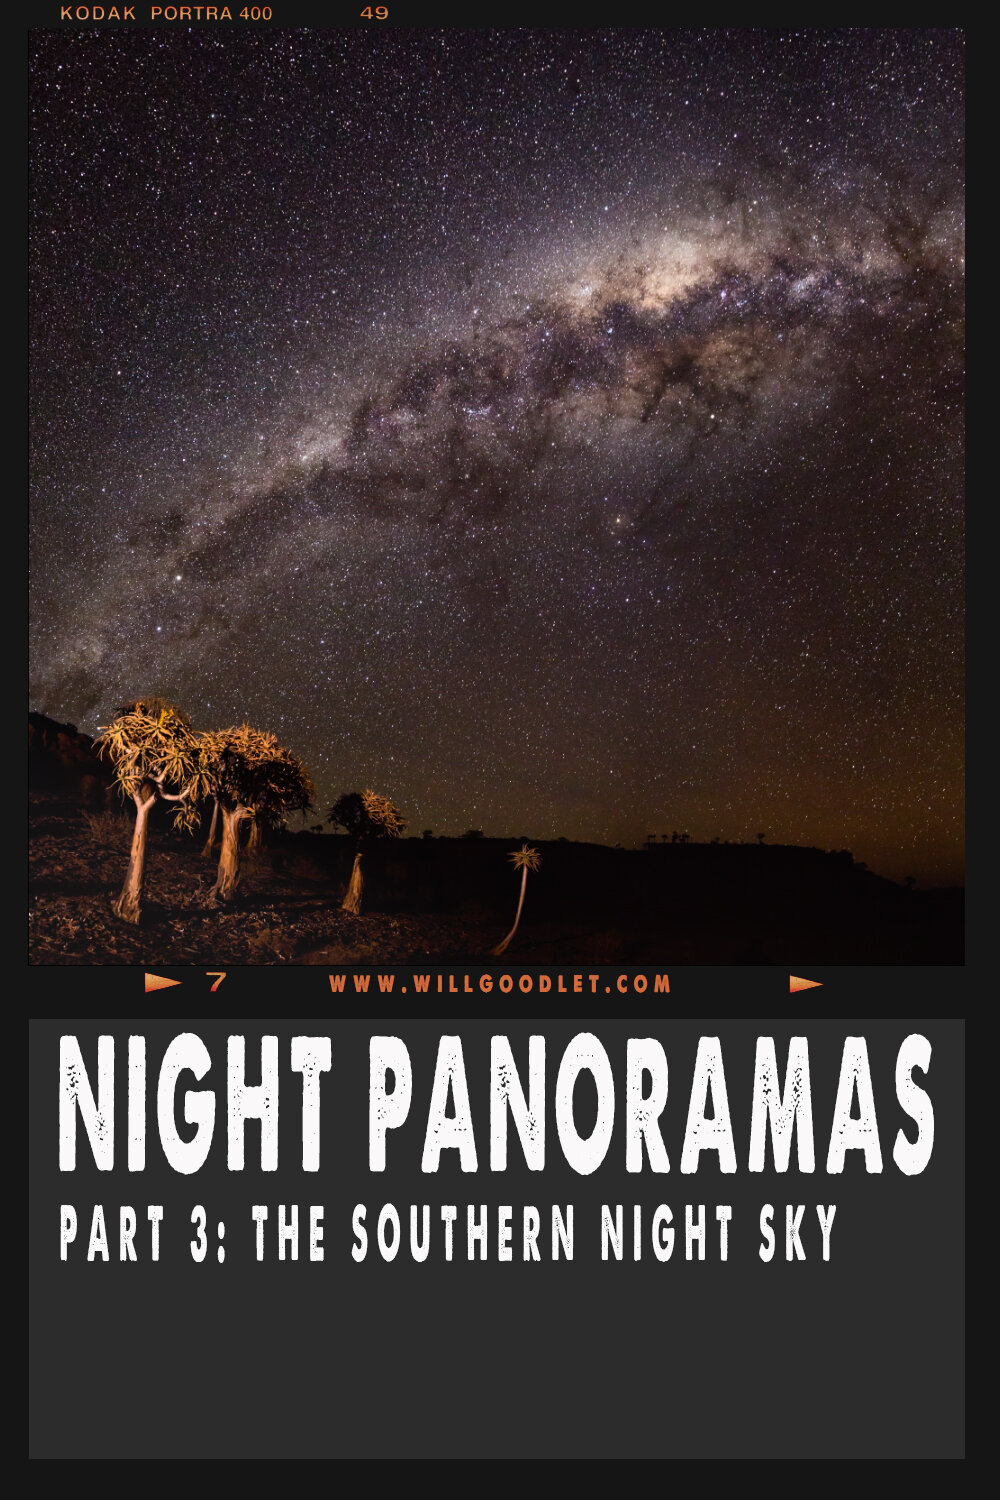
TAP TO READ PART 3 - STAR PANORAMAS
You may not realise it but Star trails represent old school Astro shots. Back in the days of film, the poor light sensitivity of the substrate did not really allow for high-quality points of light images. Instead, the movement in the night sky was recorded in sweeping star trails.
Even with trails, the film shooters had it hard, dealing with obscure factors like reciprocity failure and temperature fluctuation. These days, as digital photographers, we have it much easier!
There are two basic ways of capturing star trail shots. Either, one can open the shutter and let the camera expose for hours on end (much like the film shooter of old) or, stack multiple images on top of each other in Photoshop or similar editing suites.
![Goodlet_160503_[20160503-[012A7475]-Richtersveld-Kokerboomskloof-0437]-Edit.jpg](https://images.squarespace-cdn.com/content/v1/586fc0a6bf629abf69254ce7/1540537594192-TD4PM1S561QTRKNDDU6Y/Goodlet_160503_%5B20160503-%5B012A7475%5D-Richtersveld-Kokerboomskloof-0437%5D-Edit.jpg)
There are pros and cons for both of these methods, as one would expect, nothing is ever cut and dried in photography!
Longer exposures create beautifully smooth wheels but they are at significant risk of additional noise and worse, inadvertent or accidental light pollution. For example, you might be two hours into your single exposure shot when suddenly a lone car drives by, or someone flashes you with a powerful torch...High risk!
In both cases you are going to need a method to hold your shutter open. This tool is known as an Intervalometer. Many cameras now have them built in (e.g. Canon 7D mark ii - limited to 30 second exposures), however, if yours doesn't then pick up a cheap one from your local camera supplier. Make sure it is the right kind for your brand of camera. I use a little wireless one made by Hahnel..
With stacked images, you have a degree of safety because you can simply discard the ruined frames. In a stack of up to 300 shots, you may be able to afford a few damaged ones.
My preferred method sits somewhere in the middle. I expose my image stacks for 4 minutes at a time. I find this helps to create smooth wheels while mitigating the risk of light pollution. Admittedly, I tend to photograph stars in exceptionally remote locations. If I was somewhere busy (for example the Quivertree forest in Keetmanshoop, I might opt for shorter exposures). I would also opt for shorter exposures where there was a lot of air traffic, thankfully, in Africa this is another factor we rarely have to consider!
If you are going to photograph star trails, then it is vitally important (and anti-intuitive) to TURN OFF ‘Long Exposure Noise Reduction’. All this feature does is to take another image for the same duration with the shutter closed. The idea being that subtracting this black mask will remove much of the noise associated with long exposure and a hot camera sensor. It is a total pain in the butt - just leave it off, especially for trails!

1 Hour single exposure Star Trail. Wild Coast, South Africa
Exposing Star Trails
Exposing star trails is quite straightforward. Essentially all one does is to take the same settings (obtained experimentally - see part 1) and adjust them for any change to exposure duration.
So, for example, if my stars as points of light image required an exposure of ISO 6400 at F4 for 30 seconds and I wanted to take 4-minute exposures for a star trail instead, all I need to do is adjust for the increased exposure duration.
In this case, my exposure is 3 stops longer (30 second base + 1 stop = 1minute + 1 stop = 2minutes + 1 stop = 4minutes). I can adjust my ISO downwards by 3 stops: 6400 - 1 Stop = 3200 - 1stop = 1600 - 1stop = ISO 800.
My final settings would, therefore, be ISO 800, F4, 4minutes.
The same applies if you want to achieve a wheel in a single exposure. So, using the same technique for a 3 Hour exposure would mean my settings would need to change by 8 ⅓ stops: ISO 100, F9 for 3 Hours.
Long Exposures & Changing Light
Of course, when photographing for such long periods of time it is important to consider the effect of a change in ambient light. Moonlight is far brighter than starlight and a moon that rises above the horizon during your shoot must be compensated for. The same is true for a rising sun.
If you plan your shot carefully, you could take advantage of the increased ambient light to paint your landscape while still capturing the wheeling stars. One of the most effective techniques is to set up in the genuine dark but time your last frames for the rising moon.
If you are stacking, you should also be able to easily discard any blown shots at the end of the run. With a single exposure, you better have timed it exactly right!
Where To Point Your camera
The compass points, North, East, South and West all have different trail characteristics. If you are shooting for a traditional wheel in the Southern Hemisphere you need to point your camera towards the South Celestial Pole.
Unlike the Northern Hemisphere, where the Northern Celestial Pole almost exactly coincides with Polaris, the Southern Hemisphere has no such star. The South Celestial Pole is closest to Sigma Octanis. However, the actual pole is a little higher and you can identify it by drawing a couple of mental lines between the Southern Cross (towards the Small Magellanic Cloud) and another perpendicular to the line joining Alpha/Beta Centauri towards the Large Magellanic Cloud.
The South Celestial Pole is where these two imaginary lines intersect.

Finding the South Celestial Pole
It’s perfectly possible to point your camera in any direction and capture changing rotational effects. For example, using a lens of 35 - 50mm East or West will produce an image that looks like falling stars or ‘rain’ in almost straight lines.

How to find the South Celestial Pole
Night Shots and Moisture
One other problem with long exposure night photography is changing atmospheric conditions. I remember setting up for a long wheel in the Golden Gate Highlands, South Africa - I was going to be really ambitious and do a three-hour wheel, sleeping in the vehicle next to my tripod and camera.
After the three hours was up I went to check on my gear and to my horror, it was drenched in dew and the lens was completely misted up. My shot was ruined and so was my camera gear!
Luckily it started working again once it warmed up and dried a bit.
You can effectively deal with dew by covering your camera or setting it up under an umbrella etc... but you cannot prevent condensation on the lens elements in this way. You HAVE to stop condensation, which occurs because colder air is not able to contain the same quantity of water vapour as warm air and this extra moisture materialises on and inside your lens because the glass is a little colder.
To prevent this happening, you can borrow a trick from the Time Lapse Video guys and rig up a small electric fan on a Gorillapod aimed at the front of your camera. Circulating the air near your lens element effectively eliminates moisture build up on the glass by evaporating it.