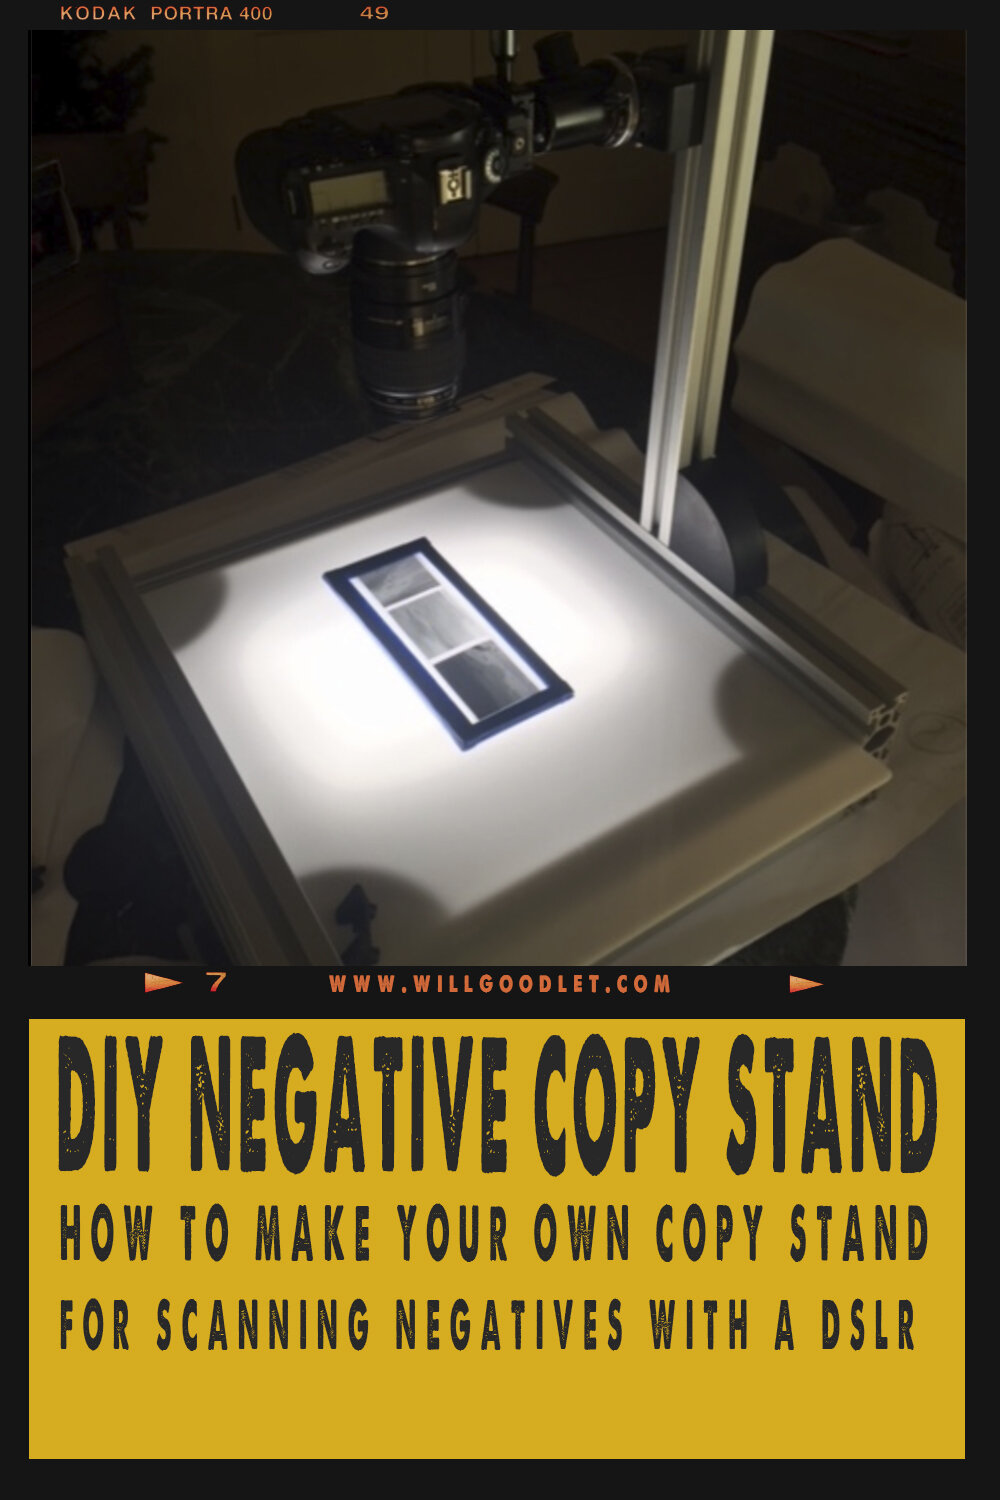
DIY Copy Stand for Scanning Negatives with a DSLR
Digitising Film Negatives or Artwork
Digitising film negatives or copying artwork can be done with a specialist scanner. Something like the Epson V850, but it is a pricey option and it doesn’t always deliver the best results, especially for 35mm negatives.
A little while ago I conducted a little experiment in scanning or digitising a film negative. It involved a DSLR, a flash and an empty ice cream container. It was encouraging!
Comparing the results to the images from the scanner showed improved sharpness, better grain resolution and RAW image files that were a great deal smaller than the TIFF files produced from scanning.
I decided that it would be worth some more experimentation and set out to find an old copy stand or enlarger stand to place over an artists light tracing pad.
Unfortunately, I just couldn’t find any for sale. South Africa is not like the US or UK with every kind of weird old tool a click away on eBay. Here, they are hard to come by or available new at three times the price.
It was time for a DIY bodge!
Making a Copy Stand Frame
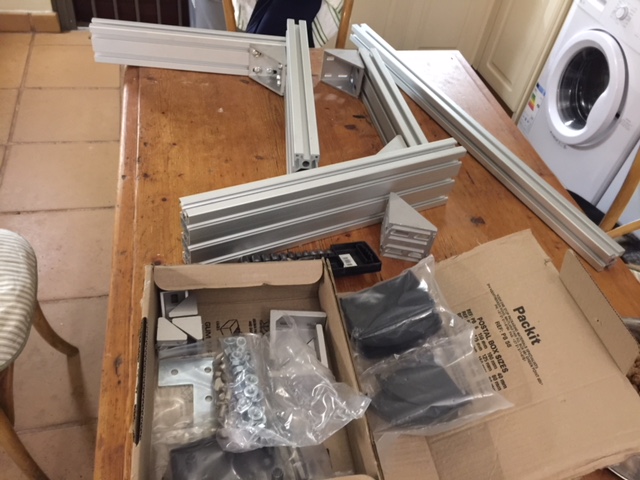
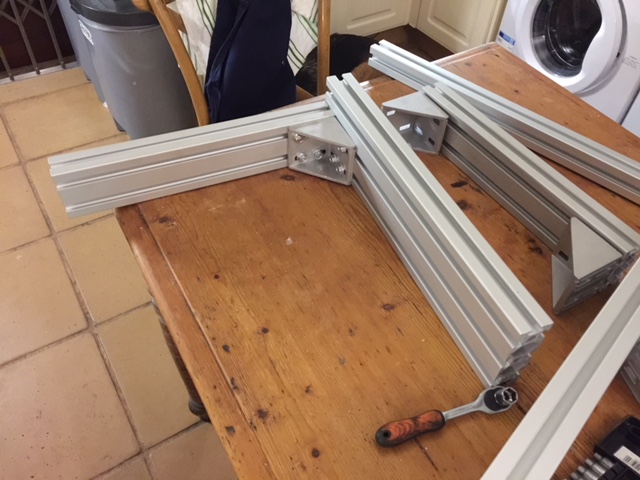
Having already made a timelape rail and controller from various bits of aluminium extrusion used in the making of 3D printers, I decided to piggy back on the idea and build a copy stand and light table from the same materials.
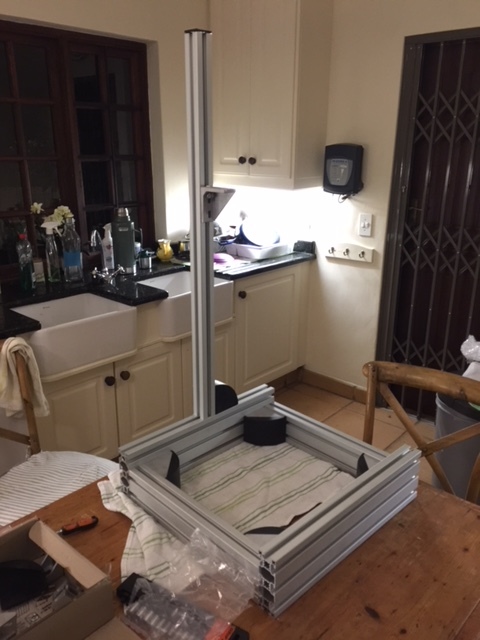
It was exceptionally easy to design and order the components from online retailers and it took about twenty minutes to assemble.
The result is overbuilt and extremely strong but still relatively lightweight.

Daylight Balanced Light for Copy Stand
The light source are two daylight balanced video lights that I use for astrophotography, placed under a cut-to-size 3mm Opal daylight balanced piece of Perspex.
Place the negatives, in a glass holder on top and the light shines through beautifully.
The DSLR is mounted over the top with a Manfrotto superclamp and levelled with a simple spirit bubble.
Conclusion
So far the results have been interesting. The quality of the DSLR image v the scanner is roughly equivalent. However, the scanner has a tendency to smudge or blur the grain while the DSLR renders it better.
I have yet to compare images in detail, but I hope to use a macro lens (Canon 100mm F2.8 USM) to create panoramic stitches of negatives.

Without the budget for drum scanning, I am hopeful that this technique will produce good results.
The costs of the project was about R2,000 a fraction of the almost R6,500 needed to buy a Kaiser copy stand and simple artists LED tracing pad.

Sample Copies/Scans of 6x7 Negatives
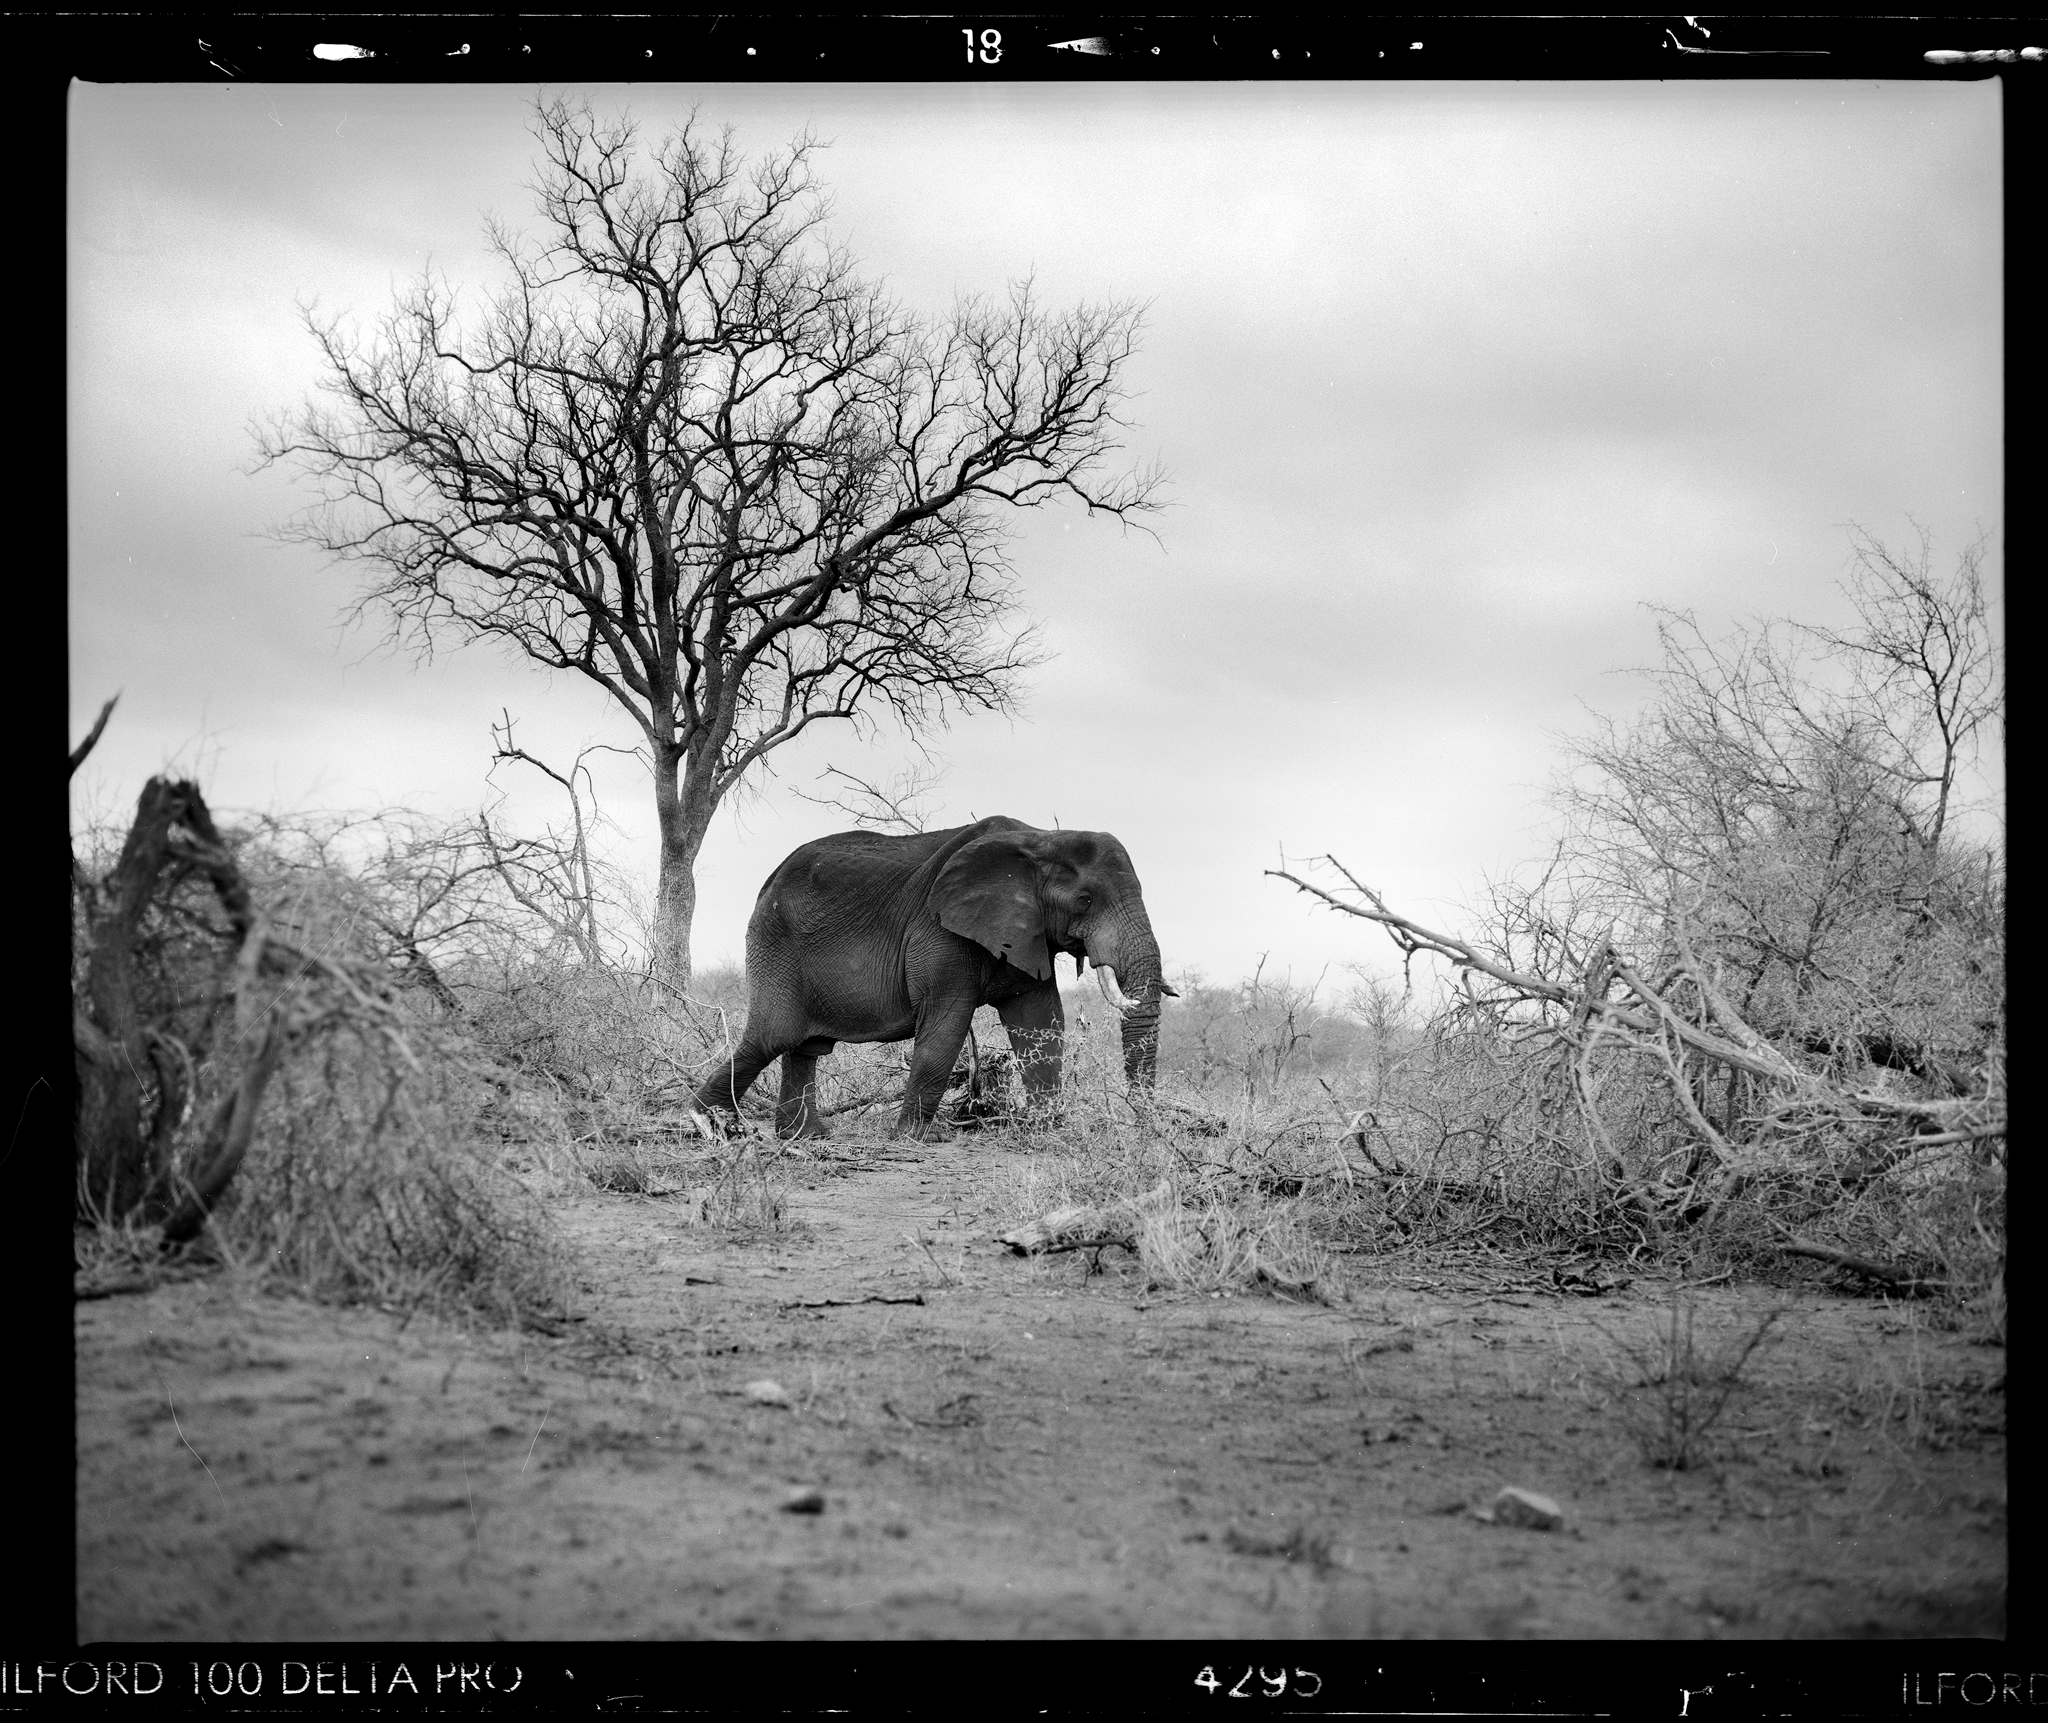
DIY Scanning of negative using a DSLR

DIY Scanning of negative using a DSLR